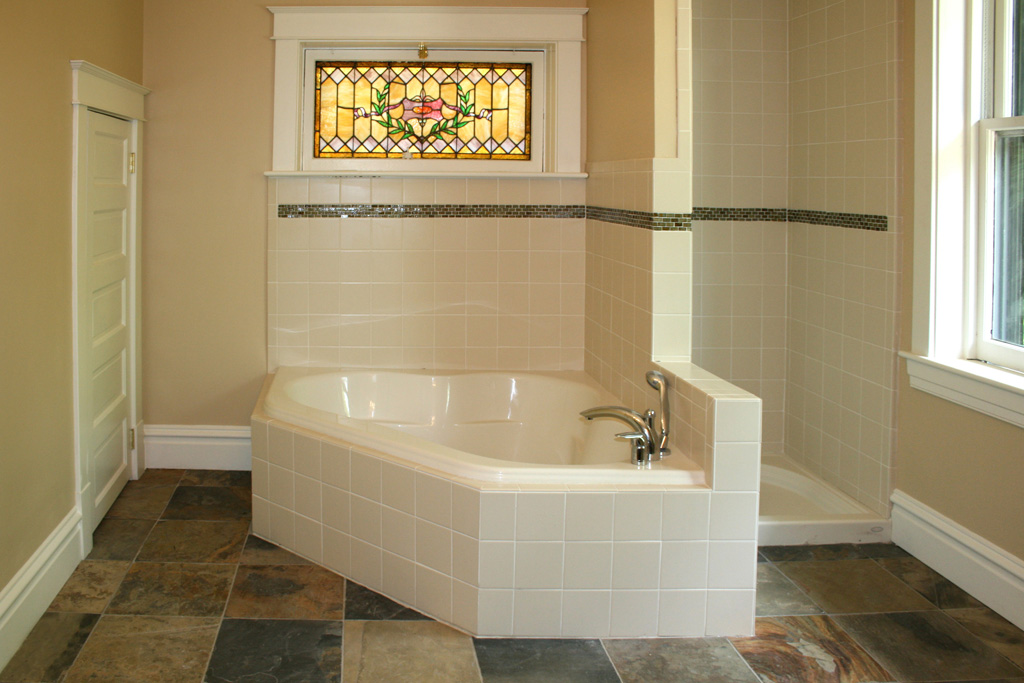
A bathroom is different to any other room in the house in that there are fixtures in the bathroom which are semi permanent. In order to do the job properly the toilet, handbasin and bath need to be removed. It is of course possible to tile around these items, but the finished product will not look as good. Take a little bit of extra time to remove your bathroom fittings if you want a quality job. Remember however, that the water needs to be turned off so you may need a plumber.
All of the old floor coverings need to be completely removed. Any excess adhesive or tile cement must be completely removed. Do not cut corners here as you will suffer later.
Once the bathroom is clear, decide on what pattern you want your tiles to follow. Lay the loose tiles on the floor and take some time to get this part right, remember, you're going to have to look at this for a very long time.
Now measure the walls and mark the middle point on each wall. Where you have made the marks at the middle point, tap a small nail into each wall about 1 inch above floor level. Tie a chalk line to each nail and make sure the line is tight. Snap the line so that it leaves a chalk impression on the floor. Do exactly the same on the other two walls so that you now have a chalk intersection in the middle of the floor. This should be your exact centre.
Now it time to mix your adhesive. This generally comes in a powder form so follow instructions on the packet to mix correctly. Buy a good quality adhesive and make sure that it is moisture resistant. If you are just learning how to tile a bathroom floor I would not recommend quick setting adhesive. Because it dries so quickly, it gives you less time to work, and you are unlikely to work fast if you are not an experienced tiler.
In the exact centre of the floor you should have a chalk cross intersection. This is where you lay your first tile. When you are learning how to tile a bathroom floor you should not tile only in the one direction, but should tile towards two walls laying tiles alternatively. When you reach each wall it is likely that you will need to cut a tile. Whilst this might seem like an incredibly difficult thing to do I can assure you that with the right tile cutter it very very simple. Measure the depth of your cut, draw a pencil line on your tile using a set square, and place your tile in the tile cutter. Mark your tile with the cutting blade and snap off the measured portion that you need. The cut side should always be against the wall leaving the factory finished side outwards.
If you have removed all of the fixtures from your bathroom you should not find yourself having to make any odd shaped cuts around a pedestal for example. On the other hand if you have not removed everything you will have to make very difficult cuts, and to learn more advanced techniques like these, you need to actually be shown, or watch someone doing it.


 |


Learning how to tile a bathroom floor is one of those DIY tasks that when approached properly with the right tools, and the right planning, can be carried out very successfully. To make a success of anything instructions are necessary and tiling is no different.
For a complete set of instructional videos on how to tile a bathroom floor have a look here. How to Tile a Bathroom Floor This video course offers step by step instructions from start to finish on every aspect of tiling. If you want to make a success of your tiling, invest a little in yourself and get comprehensive instructions from a master tiler.
0 Response to "Tiles For Bathrooms"
Post a Comment